Showing posts with label Homestead. Show all posts

Tuesday, March 28, 2017

The Outhouse Gets A New Floor

In the quest to revive the outhouse and turn it into a relaxing living space, we had to tackle the challenge of the floor.  With my creative hat, the floor was lovely and textured, creating character however realistically it did not fit the brief of the vision at all.  It needed to be levelled because the idea was to add carpet and tiles.

Gig and I toyed with the concept of using levelling compounds that were on the market, but after consulting with a concrete specialist, we settled on a layer of concrete.  A challenge?  Yes!  Out of the question?  Never!

Before
Waiting for the floor to dry

From the front door

Add underlay and carpet!
The colour chosen is a greenish grey colour which was inspired by the wallpaper that I blogged about in RENOVATING HATE.

Happy learning peeps!


Monday, April 18, 2016

My Room - Before

The renovations to our room are starting to get closer and I'm fairly excited on what that might look like. 

This bedroom is the biggest bedroom but with only one window it is quite dark. Being on the western side of the house it is also the coldest bedroom even with the fireplace.  

It has a built in wardrobe but the intention is to pull that down and place a walk in wardrobe on the southern wall of the room.  My thoughts will be to choose the same colours used in the rest of our renovations which should lighten the room.  The fireplace will stay but I am thinking of painting it.  In saying this, I have no idea what colour.


The furniture will be painted and there is even talk of replacing the window with doors opening out onto a private outdoor space.  Lets see what eventuates.

Happy living peeps!


Wednesday, October 14, 2015

Wooden Feature Wall

The ponderosa never ceases to amaze me.  Evertime we start a new project, we find hidden treasures and renovating Jayden's room was no exception.  It all started when we installed our heat transfer kit.  I blogged about process in Ducted Heat Transfer Kit.

While up in the ceiling, my husband said he thought the walls were sarking so we toss around the idea of pulling off the gib and having a look.  Worse case scenario was that it wasn't sarking and we would just have to reline the wall ... saving the hassle of stripping the hideous wallpaper.  Good for us, he was right!!  The next step was to break it to Jayden that she was having a feature wall, which wasn't something she warmed too very quickly.

The wood was native timber and as soon as all the gib for the wall came off, it's beauty was revealed.  Although it had a few holes in the wall, it look wonderful.  Jayden wasn't feeling the rough, natural wood look!!

Painting it was ... so Gig repaired the holes, filled in the gaps and sanded the wall slightly ready for the next conversation with Jayden.   My idea was to have a white wash finish by painting the wall grey, then painting diluted white paint over the top and rubbing it off.  Jayden wasn't feeling the white washed look either!!

Solution - paint the wall grey.  Jayden was definitely feeling that!!

I came home to find my husband had done this ......  Wooden feature wall it is!!

Gaps filled, sanded and test colours added


I don't really think the photo's give the finished produce justice as it really did come up beautifully.  If you are thinking of giving something like this a go, then I highly recommend it!!  It really did had a different dimension to the space adding some texture.

Happy living peeps!!


Thursday, October 8, 2015

Jayden's Room - Revealed

Jayden's room has been finished for a little while now, but it has taken some time to get some photo's up.  The main reason for this is because Jayden was quite sure of what she wanted in her room and how it would all fit.  It's fair to say, the room is still a work in progress.

Jayden's brief was colour and storage. YES storage!  She has quite a bit of art supplies, books and memorabilia from people she holds close to her heart, so she wanted to ensure we looked to cater all of that.  


The biggest change was the wooden wall behind the existing gib which we stumbled across by mistake when up in the roof putting in our heat transfer kit.  We pulled all the gib off and made it a feature wall which looks great.  I also think her new headboard looks fabulous against it.  I blogged about it HOW TO MAKE A TUFTED HEADBOARD.


Jayden was very hands on with developing her room from stripping the wallpaper to sanding and painting the ceiling and architraves.    She is still to complete a big piece of artwork that will sit on her drawers and there's a few bits and pieces in the pipework to complete her space.

I'm pretty happy with the finished product but more importantly Jayden is over the moon with her new room.

Happy living peeps!


Sunday, July 5, 2015

Hallway - Before

Our hallway is the first room you enter into the Ponderosa from our front door.  I have to confess, it's a massive space spanning nearly two metres across which I LOVE, but the dark ceilings, 90's peach colour on the walls and even the glass in the front door is not my cup of tea.

Every single room (except our laundry) comes off this hallway so it's imperative the plan for it's renovation ties into the existing renovated rooms and the future renovations.


Entry from our front door.


Looking back to our front door

Let's see how creative we can get with this room.


Happy living peeps!


Saturday, June 6, 2015

Ducted Heat Transfer Kit

You would think that when you live in a house with three fireplaces, it would be a little excessive, but still lovely and warm.  But not when it's a 100+ year old villa.  Believe it or not, the three fireplaces isn't enough, especially in the winter time.

We've been doing a bit of work around the homestead making sure that we insulate underneath the house, seal all the draughty bits in the rooms as we renovate and even replaced an old wood burner with a new one when it "shat" itself so to speak last year.  I blogged about this in REVAMPED FIREPLACE.

The new wood burner we installed was awesome last winter and it's fair to say the back living area was lovely and warm.  The problem we were faced with was that all the heat stayed down the back of the house and it took forever to heat the entire home, even when we used the other original fireplaces. 

During the year we had people from various companies come through the home and give us some great advise about their great products that would be far more superior to any other product on the  market transferring heat from one part of the home to everywhere else .. bla, bla, bla, bla .. leaving your home warm and dry ... all for a cool price of anything between $3,000 to $6,000 and without any additional steak knife offers.

Surely there had to be something else out there for a fraction of the price?  All we really wanted was to take the heat from where the wood burner was and transfer it to the other rooms. 

Bunnings offered a heat transfer kit for 2 or 3 rooms for a couple of hundred dollars, but we needed it for at least 4 rooms.  Nothing at Bunnings or Mitre 10 was on offer. 

Enter a trustworthy and helpful electrical supplier who was willing to go out and have a look at what he could find for us.  Viola, he found one, so a couple of weekends back my husband decided to put it in when the weather was cool and raining - with my assistance of course.


Installation was pretty easy and stressless and I had a chance to get into our roof and see just how much space there is up there (enter some fabulous attic ideas).  Now our 3.5 metre stud home is lovely, warm and dry and although we didn't get any steak knives with our purchase I can assure you it did cost a fraction of what we were originally offered.

Happy living peeps


Wednesday, June 3, 2015

Transforming A Light

If ever you have an old chandelier or light shade and wonder whether you should replace it with a new one, then think again.   This iron chandelier had seen better days and needed some extra TLC.  Enter a couple of coats of chalk paint and voila!!  Good as new!

This went into Aaliyah's room and she chose what colour she wanted.  I think it looks fab and definitely saved at least a few hundred dollars or even more!  I have a similar chandelier that will go into Jayden's room .. so the biggest challenge is for her to choose what colour she would like it to be.

Happy learning peeps!


Monday, April 13, 2015

Aaliyah's Room - Revealed

It has taken some time to reveal Aaliyah's room. Mainly because it took longer to finish the room itself, let alone play around with the furniture to get it looking good. Aaliyah's brief was chic, feminine and classy so we had to balance that with the existing chattels of the home itself. 

Believe it or not, first thing that came was carpet.  This bedroom had wonderful wooden floor boards exposed unlike the rest of our bedrooms which are all carpeted.  Beautiful? Yes.  Practical? Not in the winter.  I found a match of the existing carpet in the home and the solution was resolved.

All the paint colours match that from our lounge.  The ceiling and architraves is aoraki quarter with the main wall colour sandfly point.  All colours are from the dulux range.  

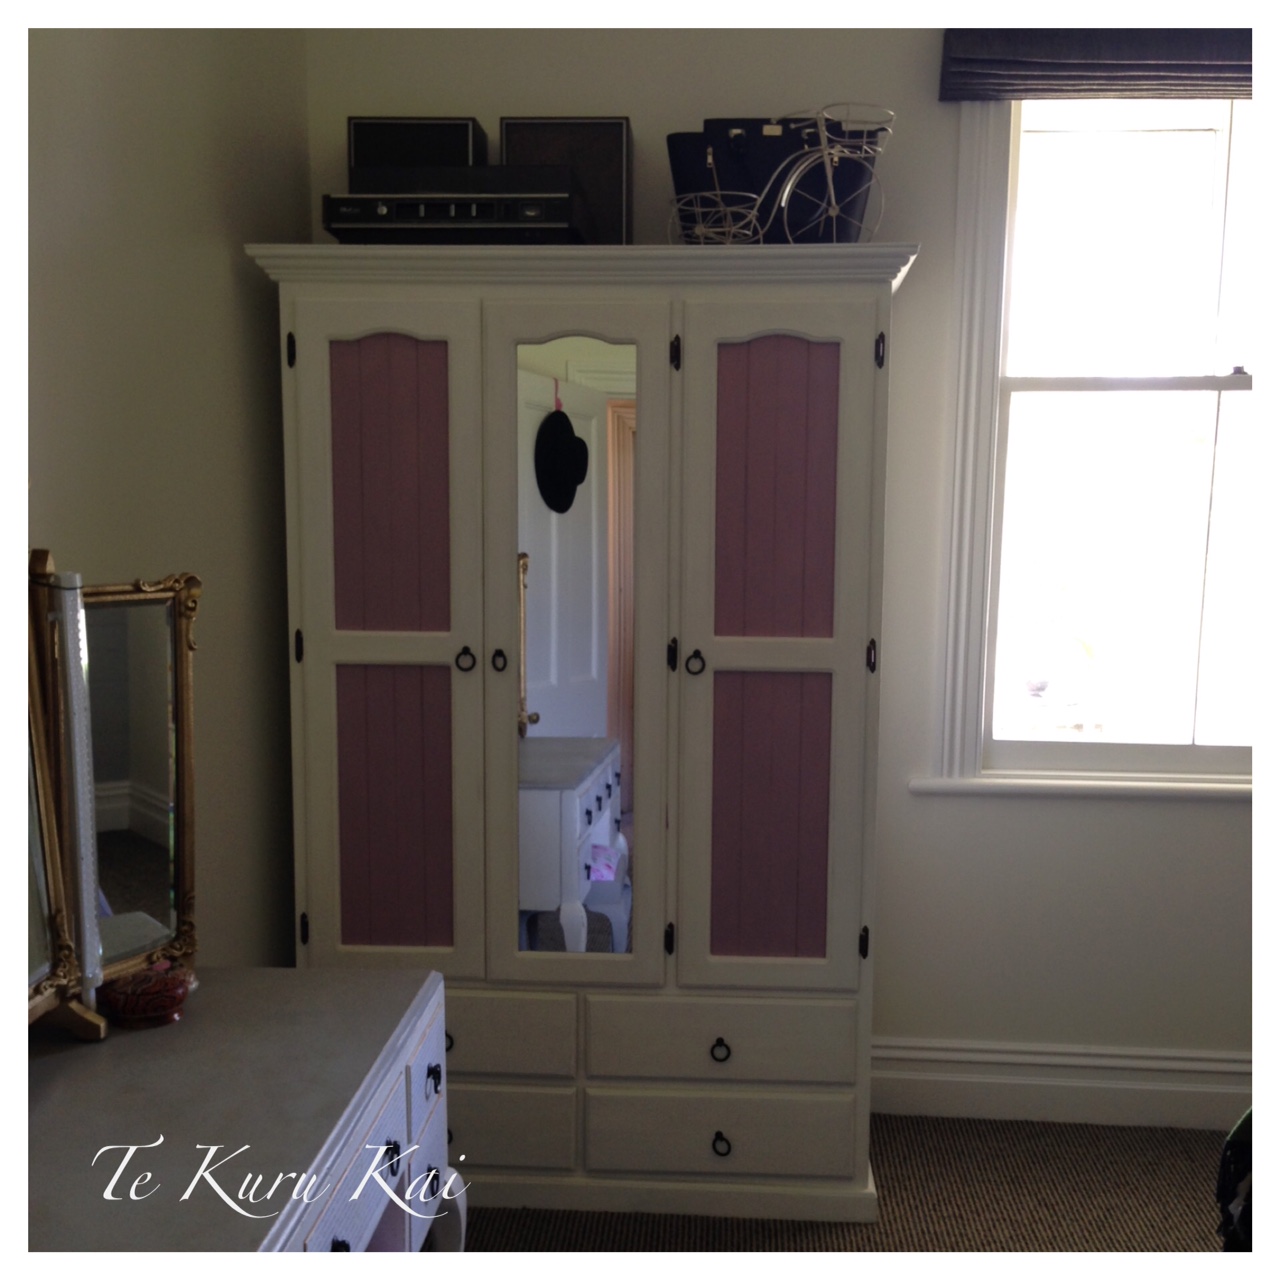
Aaliyah had a mix match of different types of furniture so we decided to paint them all the same colour to tie the colour scheme in.  In fact, we painted everything with the exception of the birdcage, orchid and bed linen.


Aaliyah did think of a feature wall for her room, however she couldn't decide what that would be so we made all the walls the same.  This idea isn't completely out off the books though, as I think a different colour behind her bed would really add to the awesomeness of her headboard.  I blogged about this in HEADBOARD GETS MAKEOVER.

We are still playing around with little things in the room, and there is some wall art that is a work in progress, but for now we are happy with the finished result and Aaliyah is happy she has her room back.

Happy living peeps!!


Monday, March 9, 2015

Jayden's Room - Before

Now that we have finished Aaliyah's room, it's time to focus on getting Jayden's room completed.  I know Aaliyah's room took a lot longer than anticipated, so Jayden is keen to get it done as quickly as possible.

This room has views to the eastern side of the Ponderosa but with only one window it can be dark once the sun reaches north.  There's a a lot of mismatched furniture in the room as it is today, so the plan is to minimise.


Jayden has some great ideas about colours in her room so lets see what creative  solutions we can come up with.

Happy living people!